
Smart Thermostat Setup: A Step-by-Step Beginner’s Guide
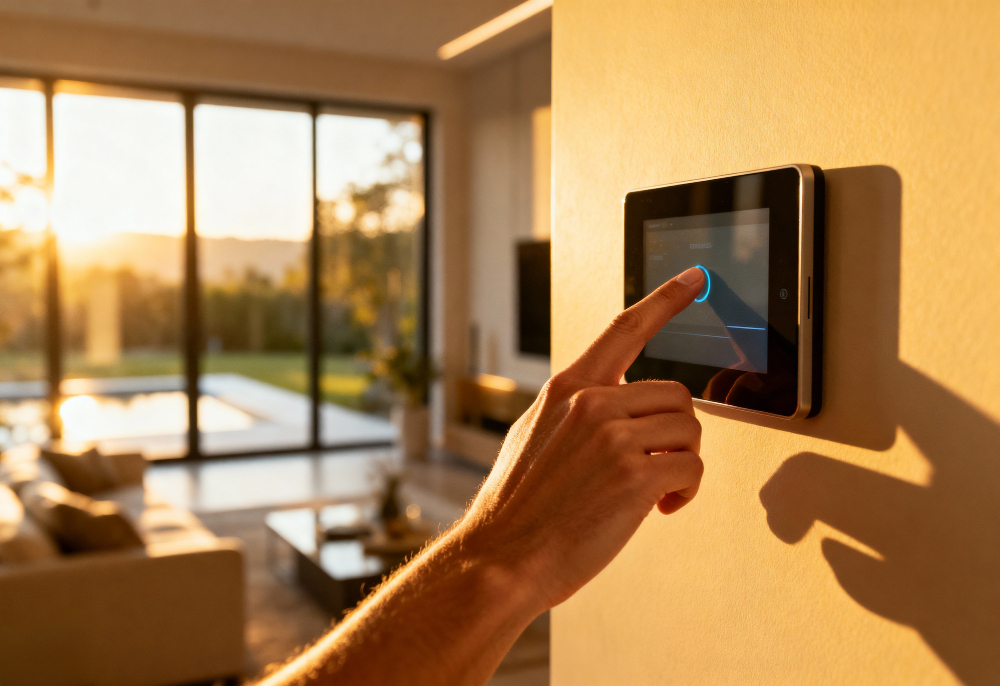
A smart thermostat setup may seem intimidating at first, but it’s actually one of the simplest ways to make your home more energy-efficient and comfortable. Whether you’re upgrading from a traditional thermostat or installing one for the first time, this step-by-step guide will walk you through the entire process — from preparation to optimization — with easy instructions for beginners.
Table of Contents
Why Upgrade to a Smart Thermostat
Before diving into setup, let’s understand why a smart thermostat is worth the investment. These modern devices allow you to control your home’s temperature remotely, learn your habits, and automatically adjust settings to save energy.
According to the U.S. Department of Energy, homeowners can save up to 10% yearly on heating and cooling costs by simply using a programmable or smart thermostat (source).
Key Benefits:
- Energy Efficiency: Reduces unnecessary heating or cooling.
- Remote Access: Control temperature using your smartphone.
- Smart Learning: Learns your routines and adjusts automatically.
- Voice Control: Works with Alexa, Google Assistant, or Siri.
- Detailed Reports: Tracks your energy usage and savings.
Step 1: Check Compatibility
Before starting your smart thermostat setup, make sure your HVAC system is compatible. Most smart thermostats work with standard 24V heating and cooling systems, but not all support high-voltage or proprietary setups.
How to Check:
- Turn off power to your HVAC system.
- Remove the cover of your old thermostat.
- Note the wire labels connected to terminals (like R, C, W, Y, G).
- Compare these to the compatibility list on your new thermostat’s manufacturer website.
Pro Tip: Many manufacturers, such as Google Nest and ecobee, offer online compatibility checkers.
Step 2: Gather the Right Tools
You’ll need just a few tools for the installation:
- Small flathead and Phillips screwdrivers
- Drill (if new mounting holes are needed)
- Level
- Smartphone or tablet (for app setup)
- The included mounting screws and anchors
Step 3: Turn Off Power and Remove Old Thermostat
Safety first!
- Turn off your HVAC system from the circuit breaker.
- Remove the faceplate of your old thermostat.
- Take a clear picture of the wiring layout for reference.
- Label each wire using the provided stickers.
- Gently disconnect the wires and remove the wall plate.
Step 4: Install the New Thermostat Base
- Mount the new base plate on the wall using the provided screws.
- Use the built-in level to ensure it’s straight.
- Feed the wires through the center opening.
- Connect each labeled wire to the corresponding terminal (R, C, W, Y, G, etc.).
- Tighten the screws securely to hold the wires in place.
Step 5: Attach the Thermostat Display
Once the wiring is complete, snap or slide the display unit onto the base. Most modern thermostats power on automatically once connected.
If your thermostat doesn’t turn on, double-check the C-wire (common wire) connection — it provides continuous power to your smart device.
Step 6: Connect to Wi-Fi and App
Now it’s time to connect your thermostat to the app:
- Download the manufacturer’s app (like Google Home or ecobee app).
- Create or log in to your account.
- Follow the in-app setup instructions to connect your thermostat to your home’s Wi-Fi network.
- Name your device (e.g., “Living Room” or “Bedroom Thermostat”).
Once connected, you can control temperature settings remotely, create schedules, and integrate voice assistants.
Step 7: Configure Smart Features
Most smart thermostat setup processes include advanced configuration options.
Common Features to Customize:
- Scheduling: Set automatic temperature adjustments for different times of the day.
- Geofencing: Automatically changes temperature based on your phone’s location.
- Learning Mode: Allows the thermostat to learn your preferred settings over time.
- Energy Reports: Get insights into energy usage and potential savings.
These features help your thermostat adjust intelligently to your habits, ensuring comfort while cutting costs.
Step 8: Integrate with Smart Home Systems
If you use voice assistants or smart home platforms, integrate your thermostat for hands-free control:
- Amazon Alexa: “Alexa, set the temperature to 22 degrees.”
- Google Assistant: “Hey Google, lower the thermostat.”
- Apple HomeKit: Use Siri commands or the Home app.
This integration turns your thermostat into a central part of your connected home ecosystem.
Step 9: Test Your Thermostat
After installation, test to ensure everything works properly:
- Turn on the HVAC system at the breaker.
- Adjust temperature from your thermostat and mobile app.
- Listen for your heating or cooling system to respond.
If your system doesn’t activate, check wire connections and ensure the thermostat is receiving power.
Step 10: Optimize for Maximum Efficiency
Once your smart thermostat setup is complete, fine-tune settings for energy savings:
- Set heating to 20°C (68°F) when home and lower when away.
- Enable “Eco” or “Away” mode when you’re out.
- Regularly check energy reports to identify savings opportunities.
- Use motion sensors or room sensors for more accurate temperature control.
By optimizing your settings, you can save up to 30–50% on your electricity bills over time.
Conclusion
Installing a smart thermostat is one of the easiest DIY upgrades that instantly improves comfort, convenience, and energy efficiency. With the right setup, you can automate your climate control, monitor energy usage, and save money — all from your smartphone.
If you want to learn more about energy-saving home tech, explore our latest articles on Smart Blogs.
FAQs
1. Do I need professional installation for a smart thermostat?
Not always. Most smart thermostats come with DIY-friendly instructions. However, if your system lacks a C-wire or uses high-voltage wiring, professional help may be needed.
2. Can I install a smart thermostat in an apartment?
Yes, but you should confirm with your landlord or property manager before making electrical changes.
3. How much can a smart thermostat save me?
On average, a properly configured smart thermostat can reduce heating and cooling costs by 10%–30% annually, depending on usage habits and home insulation.

Thanks for sharing. I read many of your blog posts, cool, your blog is very good. https://www.binance.com/register?ref=IXBIAFVY