Smart Camera Setup Guide: Protect Your Home in 10 Minutes
In today’s world, home security is more important than ever. With the rise of smart home technology, smart cameras have become an essential tool for keeping your home safe. Whether you want to monitor your front door, backyard, or interior spaces, setting up a smart camera is easier than you think. In this guide, we’ll walk you through a step-by-step process to get your smart camera up and running in just 10 minutes, ensuring reliable protection for your home.
Table of Contents
Why a Smart Camera Is a Must-Have for Home Security
A smart camera offers more than just video recording. Modern devices come with intelligent features that make home protection proactive and convenient:
- Real-time Monitoring: Access live feeds from your smartphone or tablet anytime.
- Motion Detection: Advanced AI differentiates people, pets, and objects to reduce false alerts.
- Two-Way Communication: Speak to visitors or warn intruders directly through the camera.
- Smart Home Integration: Works seamlessly with Alexa, Google Home, or Apple HomeKit.
According to SafeWise, homes with smart cameras are significantly less likely to experience break-ins.
What You Need Before You Start
Before diving into the setup, ensure you have the following:
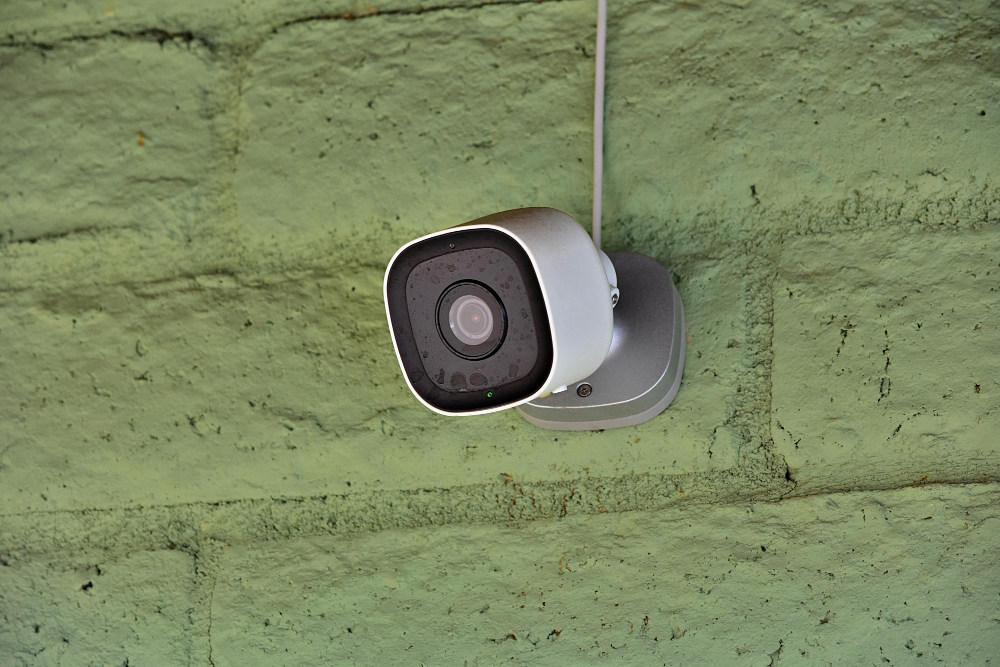
- A Smart Camera: Choose a camera that fits your home’s needs (indoor vs. outdoor, wired vs. battery).
- Strong Wi-Fi Connection: Reliable internet is essential for live streaming and notifications.
- Smartphone or Tablet: Most smart cameras require an app for setup and monitoring.
- Power Source: Make sure your camera is fully charged or properly connected to a power outlet.
- Mounting Tools: Screws, brackets, or adhesive pads depending on the installation location.
Step-by-Step Smart Camera Setup in 10 Minutes
Step 1: Unbox and Inspect Your Camera
Carefully remove your smart camera from the packaging. Check for any damages and make sure all accessories are included, such as mounting hardware, power cables, and instruction manuals.
Step 2: Download the Camera App
Most smart cameras require a dedicated app for setup. Search for the camera’s app on the App Store (iOS) or Google Play Store (Android). Once downloaded, create an account or log in if you already have one.
Step 3: Power On the Camera
- Battery-powered cameras: Insert batteries and press the power button.
- Wired cameras: Plug the camera into a power outlet and wait for indicator lights to show it’s ready.
Your camera should enter pairing mode automatically.
Step 4: Connect to Wi-Fi
Follow the app instructions to connect your camera to your home Wi-Fi network. Make sure your router is nearby for a strong signal. Some cameras support 2.4GHz networks only, so check compatibility.
Step 5: Position Your Camera Strategically
For optimal coverage:
- Place outdoor cameras at entrances, driveways, or backyard corners.
- Position indoor cameras in high-traffic areas or main living spaces.
- Ensure the camera is mounted at a height to avoid tampering.
- Avoid direct sunlight or reflective surfaces that can affect video quality.
Step 6: Configure Settings
Customize your smart camera settings in the app:
- Adjust motion detection sensitivity.
- Enable push notifications for real-time alerts.
- Set activity zones to avoid false triggers from pets or street traffic.
- Turn on night vision or infrared mode for 24/7 monitoring.
Step 7: Test Your Camera
Before finalizing installation, test the camera:
- Check the live feed in the app.
- Trigger motion detection to ensure alerts are working.
- Test two-way audio and night vision capabilities.
Step 8: Integrate With Smart Home Systems
If your camera supports smart home integration, connect it to your ecosystem:
- Alexa: Enable the camera skill and link your account.
- Google Home: Add the device via the Home app.
- Apple HomeKit: Scan the HomeKit code provided with the camera.
Integration allows voice commands and automations for a smarter security system.
Step 9: Secure Your Camera
Enhance security by:
- Setting a strong password for the app and Wi-Fi network.
- Enabling two-factor authentication if available.
- Keeping firmware updated for the latest security patches.
Step 10: Enjoy Peace of Mind
With your smart camera installed and configured, you can monitor your home from anywhere, receive instant alerts, and deter potential intruders. Regularly check the camera app for updates and maintenance reminders.
For more advanced camera options, you can explore our smart security solutions to upgrade your home protection further.
Conclusion
Setting up a smart camera doesn’t have to be complicated or time-consuming. By following this 10-minute guide, you can enjoy reliable home protection, real-time monitoring, and seamless smart home integration. Whether you’re a first-time user or upgrading your security system, a properly installed smart camera adds an extra layer of safety and peace of mind to your home.
FAQs
Q1: How often should I update my smart camera’s firmware?
It’s recommended to check for updates monthly to ensure your camera has the latest security features and bug fixes.
Q2: Can I install multiple smart cameras in my home?
Yes, most apps allow you to add multiple cameras, creating a comprehensive monitoring system for complete home protection.
Q3: Do smart cameras require cloud storage?
Not always. Some cameras offer local storage via SD cards, though cloud storage provides remote access and additional backup.